Create your own Knowledge Base with Copilot Studio
I like creating complex solutions for simple problems just as much as every other engineer. That’s why I have dozens of side-projects going on where I’m trying out stuff. During my day job, I try to provide as much value to the customer/business with the most simple, most performant and cheapest solution I can think of.
That’s where Copilot Studio comes into play.
You’ve probably read a ton of posts and articles about bring-your-own-data, RAG, finetuning LLMs, etc. for the past couple of years. All great stuff and are great solutions for adding Generative AI to your solutions. However, most of the time this requires a lot of engineering effort, time, and adds quite a bit of overhead.
Copilot Studio provides you capabilities to build your own agents, integrate them within your own environment and make the created Copilots available to your organization or the public, all with only a couple of clicks inside the portal. It’s a low-code experience compared to working with Azure AI Studio, or making your own solution with Azure Open AI. A low-code solution comes with a ton of benefits, but is also limited in capabilities compared to the ‘pro-code’ solutions. It’s a trade-off.
To get the hang of Copilot Studio I’ve started to create my very own Knowledge Base for this blog, so I can ask it questions and answers come up based on the posts I’ve had in the past. Similar to using search, but better!
Create your own blog Knowledge Base
I would love to create a long post on this, but it’s only a couple of button clicks. Since it’s low-code, I’ll provide some screenshots.
First thing to do is head to https://copilotstudio.microsoft.com/ and press the big Create-button over there and select the “New agent” option. There are also templates available, but these aren’t necessary for a blog knowledge base.
A nice chat interface is presented where you can tell Copilot Studio what the agent should do. While this experience works fine, most of the time, I’d like to press the “Skip to configure”-button and do it all manual.
Doing so will navigate you to and empty Copilot form.
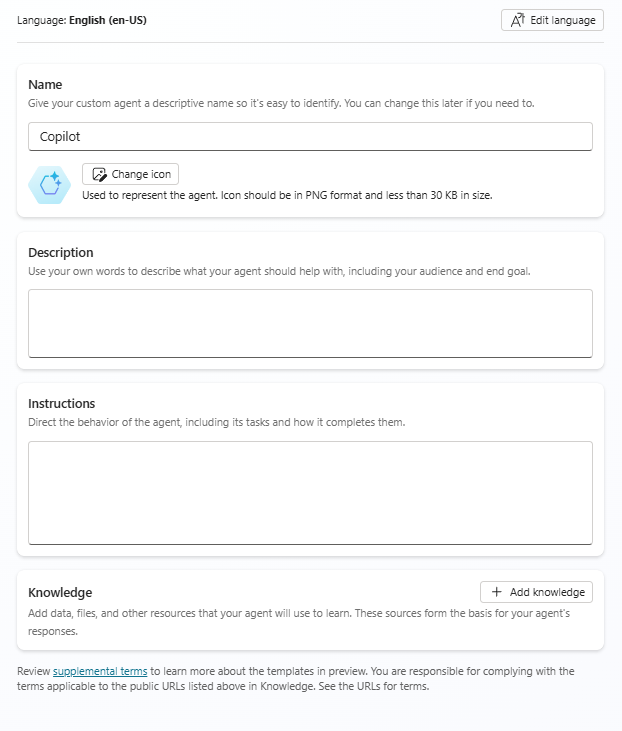
You can give the Copilot a name, icon, description, instructions, and specify where it’s knowledge should come from.
I’ve used the following input:
Name
Jan-V.nl knowledge baseDescription
This copilot will search through Jan de Vries’ blog for answers on technical matters on development, azure, architecture and more!Instructions
Only provide answers that are related to the topics in the provided knowledge sources. Intent should always be about Cloud development, software architecture, DevOps or any other software engineering related topics. Always list the resources used to provide an answer.
The prompt in the Instructions can use some finetuning, but it’ll do for the purpose of this post.
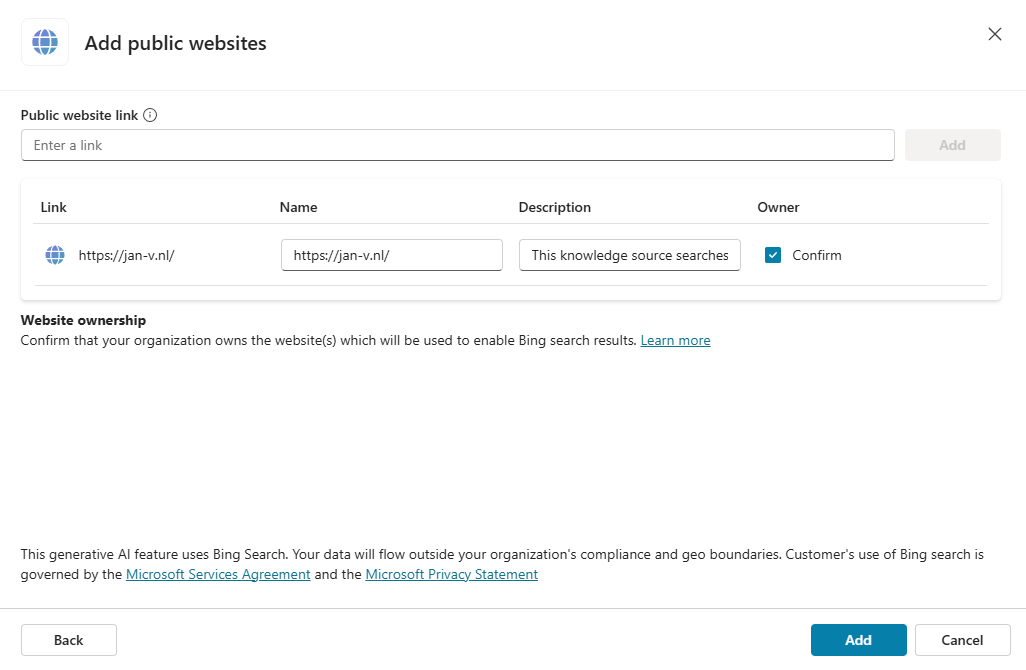
The most important part over here is providing a knowledge source. You can select public websites, SharePoint, DataVerse and upload files.
I’m pointing it towards my own site.
Once this is set up, the creation form will look similar to the screenshot below.
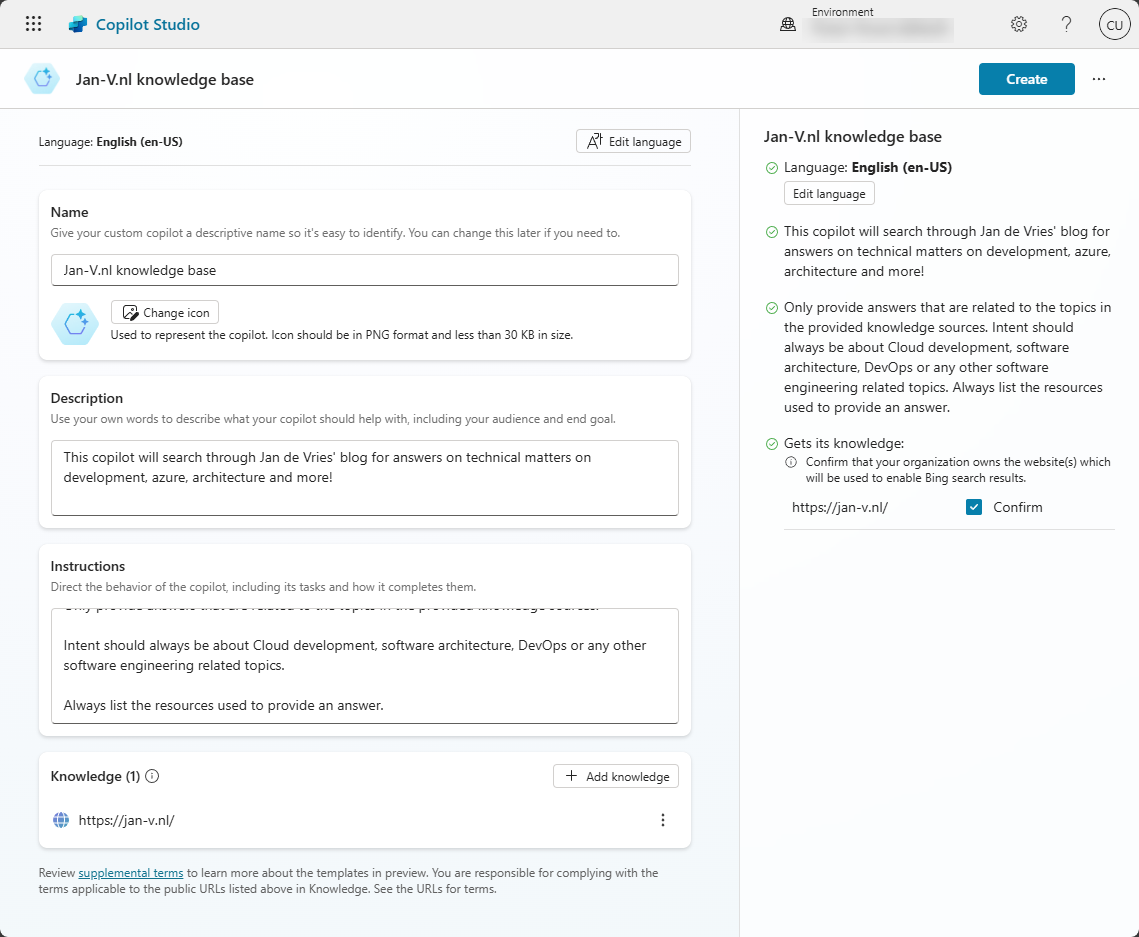
That’s everything you need to do.
You can now start asking questions to this Copilot.
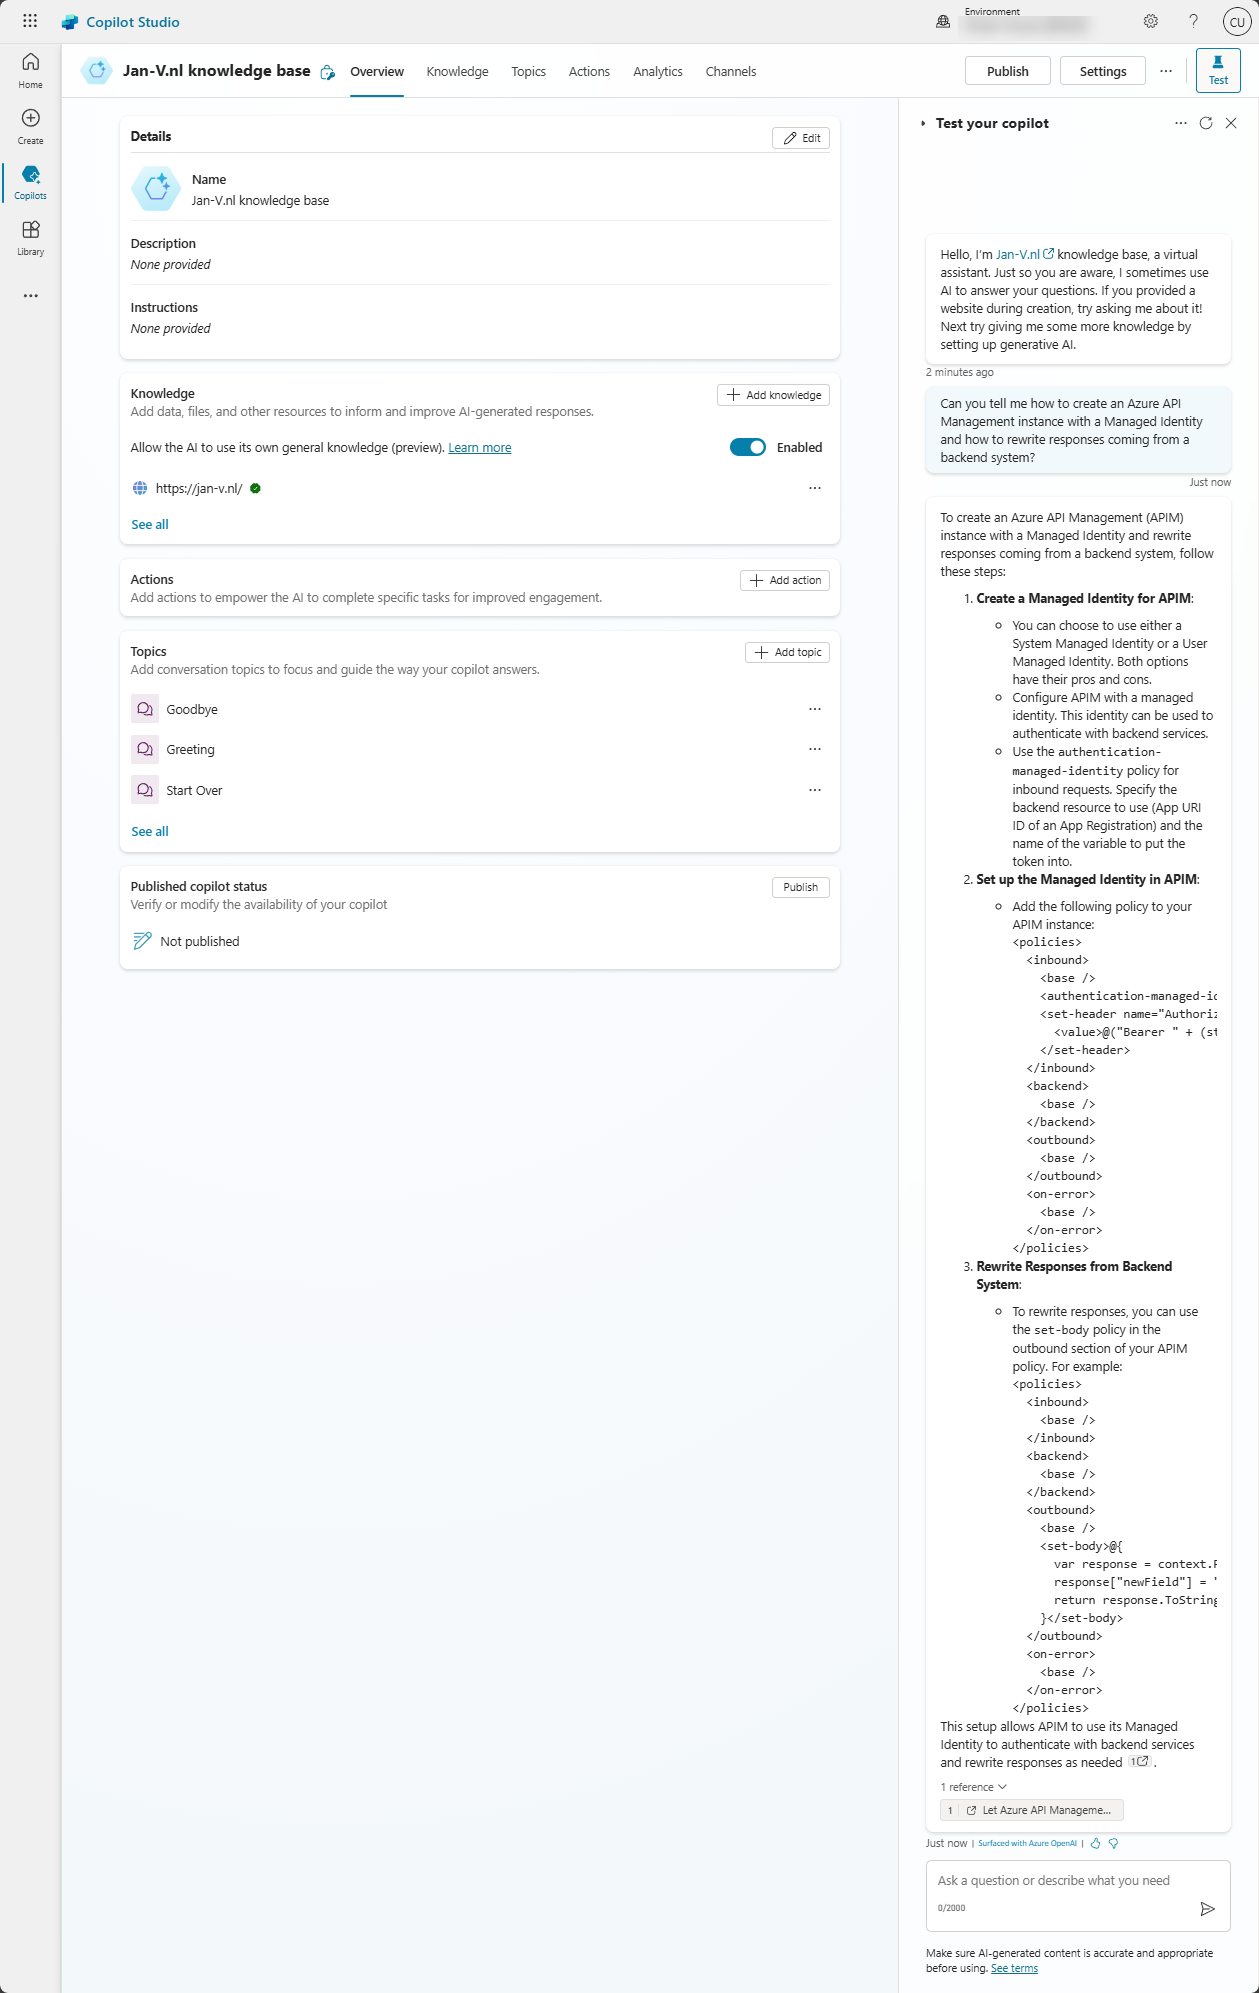
When testing is done, the Copilot can also be published to a large number of channels, depending on where your user/customers reside.
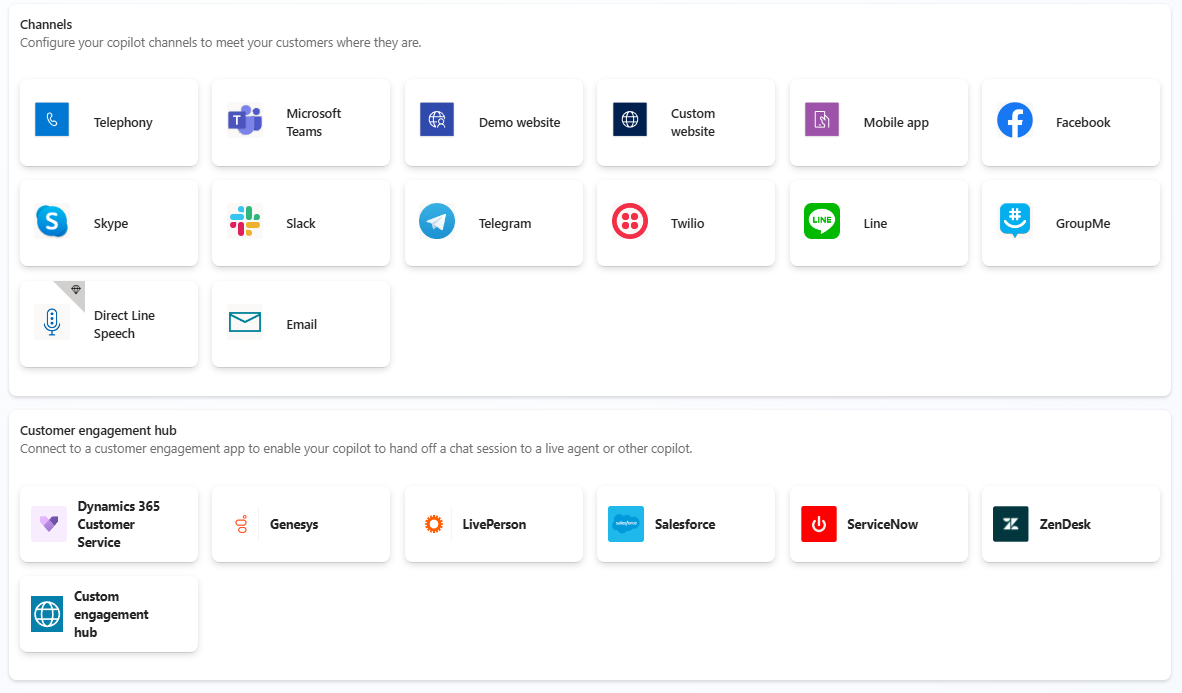
For me, a Custom Website would work the best. For an internal (employee) Copilot, Teams or Slack might be more appropriate. All can be configured with just a few clicks in the Portal.
Where is it?
It’s too bad I can’t publish this Copilot to my blog just yet. At this time, it’s $200 to enable it on my own subscriptions, which is quite a lot of money for me as a regular person.
For a company however, it’s quite cheap. Considering how much engineering time you can save by creating these focussed Copilot experiences. Don’t get me wrong, there are still a lot of scenario’s where you need a more pro-code solution. We, our team, can’t use it for quite a bit of things yet but probably will be able to in the future. In my opinion, it’s a great starting point for many engagements or to try creating a Generative AI experience with your own data or knowledge sources.
