Create a Power Query custom connector with authentication
For a while we have been creating Power BI reports retrieving data from our API. This works quite nice, but our API has OAuth2 authentication & authorization in place. So far, we added a manually created access token to the data source and updated it on a regular basis. While this works, it’s not a very solid approach.
I figured we can (and should) do better so decided to investigate a bit on the topic. I quickly stumbled on creating your very own Power Query custom connectors that support having authentication on the connector, or use the OAuth2 endpoints by invoking the Web.Contents method.
Get started
To get started, there is an article on MS Learn called Using the Power Query SDK and Create your first connector: Hello World. These are great starting points in my opinion. Just to see how stuff works and create an initial project.
The major takeaways from this article are:
- Use VS Code
- Use the Power Query SDK
- Create a new project by using the Power Query SDK
There is another thing you need to know, which I learned the hard way.
You are required to use the Set credentials option for a connector. Even if you set Authentication to Anonymous, credentials are required.
MyConnector = [
    TestConnection = (dataSourcePath) => {"MyConnector.Contents"},
    Authentication = [
        Anonymous = []
    ]
];
Failing to do so, will result in an error looking like this when trying to do something, like invoking a (public) endpoint.
“Message”: “Credentials are required to connect to the Web source. (Source at [endpoint].)”
After having added the credentials to my environment, I still got the above error when invoking my created method. This was the setup I used.
[DataSource.Kind="MyConnector", Publish="MyConnector.Publish"]
shared MyConnector.Contents = (optional message as text) =>
    let
        _message = if (message <> null) then message else "(no message)",
        a = "Hello from MyConnector: " & _message
    in
        a;

shared MyConnector.Query = Value.ReplaceType(QueryImpl, QueryType);
It turns out, you need to add the [DataSource.Kind="MyConnector"]-attribute to the public method to get rid of the error. The end result now looks like this:
[DataSource.Kind="MyConnector", Publish="MyConnector.Publish"]
shared MyConnector.Contents = (optional message as text) =>
    let
        _message = if (message <> null) then message else "(no message)",
        a = "Hello from MyConnector: " & _message
    in
        a;

[DataSource.Kind="MyConnector"]
shared MyConnector.Query = Value.ReplaceType(QueryImpl, QueryType);
Deploying your custom connector
To use your custom connector, the documentation states to copy the *.mez file to the ‘correct folder’. Me, not being a Power BI expert, have no idea what this folder should be. In hindsight, it’s on a rather obvious location, the folder \Power BI Desktop\Custom Connectors in your Documents-folder.
To make deployment of the connector a bit easier, I’ve created the following PowerShell script, located in my custom connector folder.
# Define source and destination directories
$sourceDir = ".\bin"
$destDir = [Environment]::GetFolderPath("MyDocuments") + "\Power BI Desktop\Custom Connectors"

# Check if destination directory exists, if not, create it
if (!(Test-Path -Path $destDir)) {
    New-Item -ItemType Directory -Path $destDir
}

# Copy *.mez files from source to destination
Get-ChildItem -Path $sourceDir -Filter "*.mez" -Recurse | ForEach-Object {
    Copy-Item -Path $_.FullName -Destination $destDir
}
Test your connector
By creating a custom connector using the Power Query SDK, you get a MyConnector.pq file and a MyConnector.query.pq file.
The first file contains the actual connector. The second file can be used for testing the connector. The extension has an option called Evaluate current file, that you should use when the MyConnector.query.pq has the focus. It will then run the code inside.
Mine looks like this, but you can add all kinds of code inside that will be executed.
// Use this file to write queries to test your data connector
let
    query = "My query",
    result = MyConnector.Query(query)
in
   result
Making authenticated calls to your backend APIs
There are multiple reasons to create your own PowerQuery custom connector. For me, it’s to make authenticated requests towards our backend REST API. I’ve seen people, and being suggested to, add a bearer token in Power BI reports and using the built-in functionality to make web requests.
While this works, it’s not very user friendly, not very secure, and quite error-prone.
A custom connector has the Authentication property that can be used to make sure an API-key is added, do anonymous requests, work with OAuth2 flow, etc. In this post, I won’t be using any of these, well I set up Anonymous, because you need to pick one and this is the easiest one to implement.
To make authenticated calls, I’ll be using a service principal and Microsoft Entra ID.
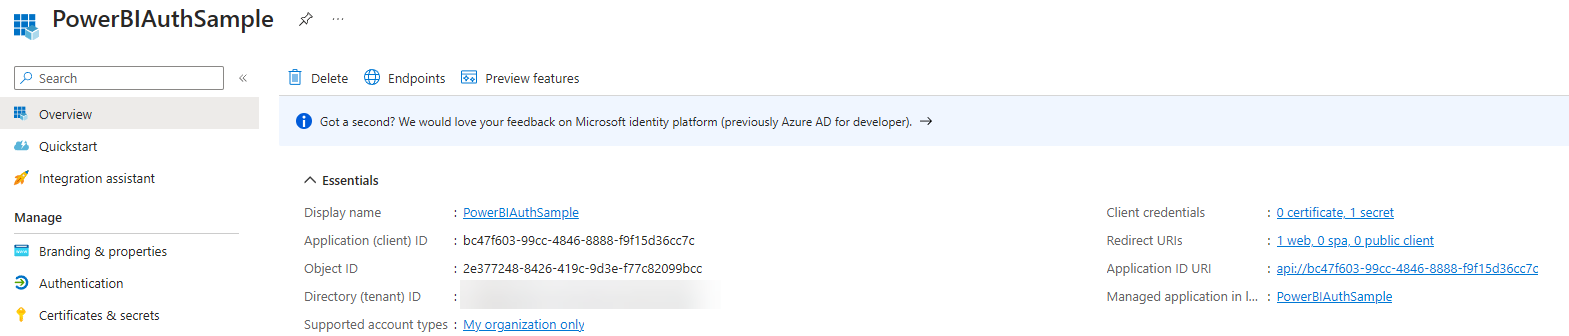
First create an App Registration, and a corresponding secret (don’t forget to note this secrets somewhere as it’s necessary later on).
 .
.
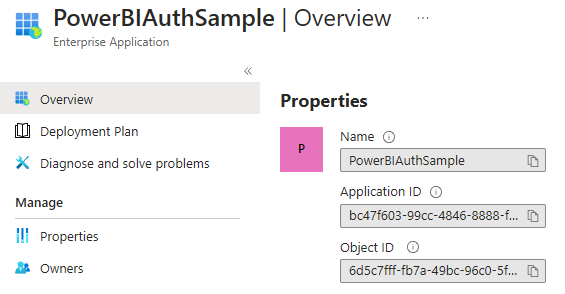
Navigate to the Enterprise Application that has been created and note the Object ID of this resource.
With these details, you can grant this service principal the correct application role(s) to the resource you want to access. I’ve described this process in a post from a while ago.
The service principal is now able to request an access token for the resource and has the necessary application role in the claims of the token.
For this use-case, a user should not be bothered with the authentication and authorization of the backend API. I’m using the Client Credentials flow because it permits a piece of software to use its own credentials (Client Id and Client Secret).
To do so, a request has to be sent towards the token endpoint with the details for this client.
I’ve created the following method, called GetTokenFromSNP, for this.
GetTokenFromSNP = (optional tenantId as text, optional clientId as text, optional clientSecret as text, optional resource as text) =>
    let
        OAuthBaseUrl = "https://login.windows.net/",
        apiUrl = OAuthBaseUrl & "/token",

        tokenResponse = Json.Document(
            Web.Contents(
                OAuthBaseUrl,
                [
                    RelativePath = tenantId & "/oauth2/token",
                    Headers = [Accept = "application/json"],
                    Content = Text.ToBinary(
                        Uri.BuildQueryString(
                            [
                                client_id = clientId,
                                grant_type = "client_credentials",
                                client_secret = clientSecret,
                                resource = resource
                            ]
                        )
                    )
                ]
            )
        ),
        access_token = tokenResponse[access_token]
    in
        access_token;
The response contains several properties, like the access_token used over here. The access token can now be added in the Authorization-header of a web-request as shown in the sample below.
QueryImpl = (optional query as text, optional tenantId as text, optional clientId as text, optional clientSecret as text, optional resource as text) =>
    let
        token = GetTokenFromSNP(tenantId, clientId, clientSecret, resource),

        headers = [
            #"Content-Type" = "application/json",
            #"Authorization" = "Bearer " & token
        ],

        json = Json.Document(
            Web.Contents(
            BaseUrl,
            [
                RelativePath = "/my/endpoint",
                Headers = headers,
                Content = Text.ToBinary(query)
            ]
            )
        ),
        table = Table.FromRecords(json)
    in
        table;
This is all you need to know, and do, to make requests towards a protected endpoint.
Now if you do stumble into any issues making requests, I would advise to install and run Fiddler. This tool is able to inspect all web-traffic sent and received from your machine. To inspect HTTPS traffic, you do need to install Fiddler’s root certificate. This also causes some sites not to work proper anymore, for security reasons, but in this case everything still worked and I was able to debug why some requests were failing.
Some other nice resources
There aren’t a lot of useful resources on this topic. But let me share you the ones I found interesting enough to share:
- The Microsoft DataConnectors GitHub repository
- Docs on handling authentication in Power Query custom connectors
If you know of any other good resources, feel free to share!